Forum rules
The DIY forum is for personal projects (things that are not for sale, not in production), info sharing, peer to peer assistance. No backdoor spamming (DIY posts that are actually advertisements for your business). No clones of in-production pedals. If you have concerns or questions, feel free to PM admin. Thanks so much!
Dual compressor, Flatline and Dynacomp on perf. Excellent choice to have two comps on one box, selectable. Flatline for 'dynamic control', Dyancomp for 'comp as an effect'. Some nice vintage Ge diode and metal can CA3080 mojo for y'all too.
if you have a real job and you still find time to build so many pedals at night, I'm really impressed. I work slow as shit. especially when drilling or etching. I see that you use the same drill layout for everything and you use vero. I use perf and it is a pain in the balls. do you drill 10 boxes at a time? and do you have like a paper template to mark the drill holes?
And yes, I have a bunch of madbean templates I use or I make my own. The custom stuff is always laid out on graph paper.
Also, the way I build is a bit unique so that I can fit it in my free time... What I do is kick out a bunch of different circuits at different stages of completion. If I'm feeling like soldering one night I'll kick out everything on my bench (did this last week...about 10 circuits). Likewise with drilling enclosures and doing final offboard wiring. I almost never do a pedal start to finish in one sitting.
At the moment I've got about 5 enclosures drilled and nearly 10 circuits populated so the next few days I'm going to be finishing a LOT of them.
Thanks for the info, i need to do it in batches. That should save time. I might try vero. Perf is slow and its harder to know if you have a good connection. I want the reliability of pcb or vero. Im doing a lot of design now so this perf is killing my productivity.
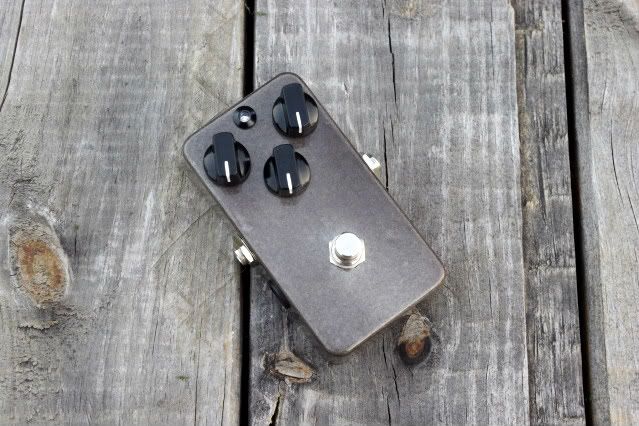
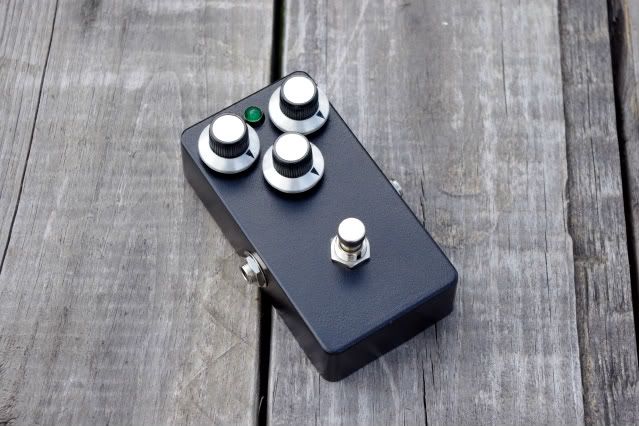
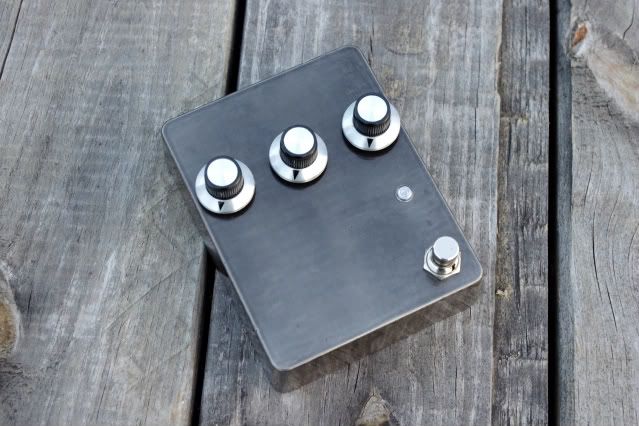
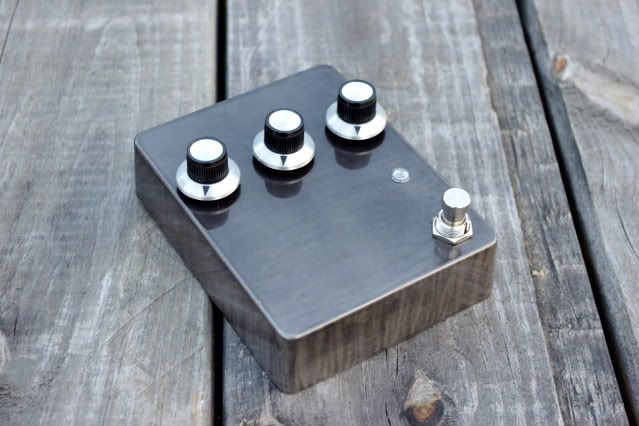
Triangle Muff w/ shielded cable and an enclosure I did using the method I mentioned. The finish is VERY hard to photograph but in person it looks incredible, it's closer to the sides of the enclosure in the last picture. I'll post another picture tomorrow when I put the custom nameplate I had made on it.
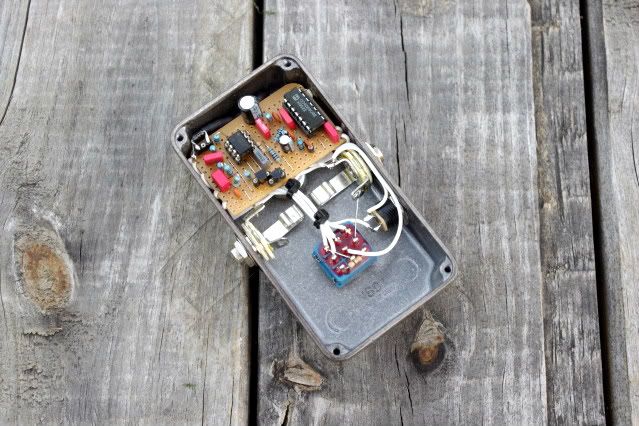
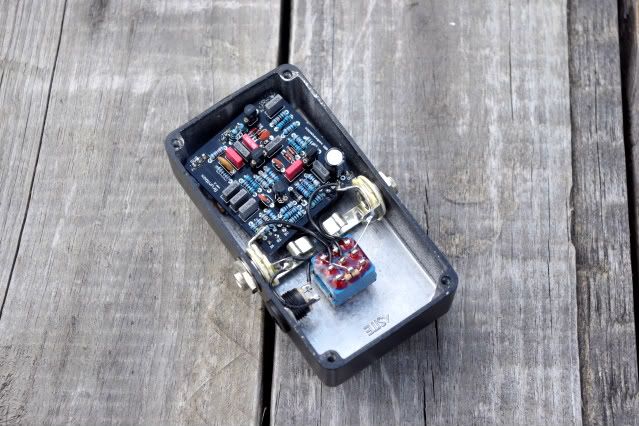
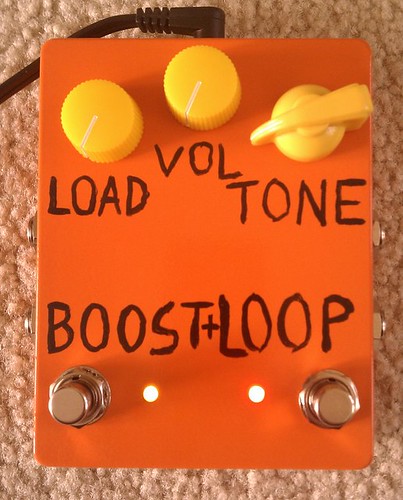
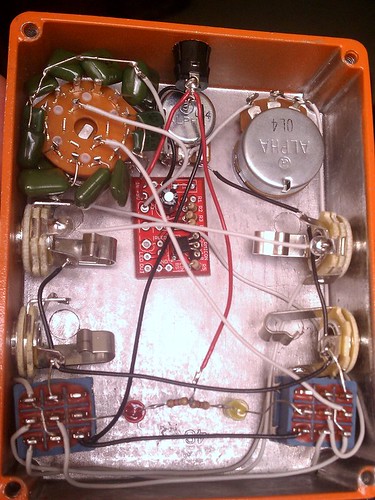
thats an LPB PCB, 4 resistors and 1 transistor the electro is just power filtering, its optional. most of my time is in that damn rotary switch. it goes 470n, 220n, 100n, 47n, 10n, 1n. with the same cap sizes for input and output. they switch together. 10n is actually spec for a EH screaming bird treble booster. the "load" is just a 25k in series with the output, its main purpose is to fight the impedance problem of sticking anything thats not a guitar before a fuzz. this was going to be part of a double pedal with 3 footswitches but I decided to split them up so you can try them with other stuff. I did however retain the master bypass switch that controls two pedals. your fuzz must be connected to the send return jacks. when nothing is plugged in to the loop, it works like a normal pedal.
eatyourguitar wrote:thats an LPB PCB, 4 resistors and 1 transistor the electro is just power filtering, its optional. most of my time is in that damn rotary switch. it goes 470n, 220n, 100n, 47n, 10n, 1n. with the same cap sizes for input and output. they switch together. 10n is actually spec for a EH screaming bird treble booster. the "load" is just a 25k in series with the output, its main purpose is to fight the impedance problem of sticking anything thats not a guitar before a fuzz. this was going to be part of a double pedal with 3 footswitches but I decided to split them up so you can try them with other stuff. I did however retain the master bypass switch that controls two pedals. your fuzz must be connected to the send return jacks. when nothing is plugged in to the loop, it works like a normal pedal.
its for a guy in Australia who does "no input"/noise music. its got 2 inputs and 4 outputs so you can run two separate circle jerks of pedals. then a left and right out to the mixer. those are mute switches mostly.
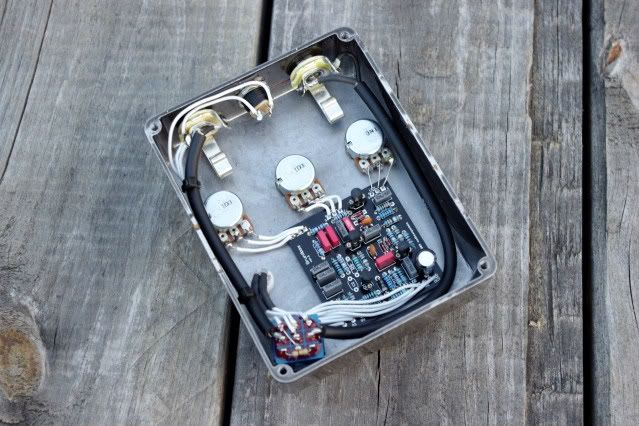
Not one of my neatest builds by a long shot. It's a bit of a nest really. Didn't have the right pots, box was too small etc etc. Anyway, it's another muff. Based on the tone wicker one, but with plenty of mods to make it less harsh. Sounds good, and goes right next to my tone wicker muff. A seriously half assed build, but still does the job.
The more i look at the guts, the more facepalm it deserves. FML.
This is grand. Sounds awesome imo. Only problem was that i didn't have the right pots. Or DC Jack. Or normal jacks. Other than that it's not bad hahaha! I'll probably end up making another one with better effort in the next month or two. Just bone broke for parts.
Triangle Muff w/ shielded cable and an enclosure I did using the method I mentioned. The finish is VERY hard to photograph but in person it looks incredible, it's closer to the sides of the enclosure in the last picture. I'll post another picture tomorrow when I put the custom nameplate I had made on it.


 the electro is just power filtering, its optional. most of my time is in that damn rotary switch. it goes 470n, 220n, 100n, 47n, 10n, 1n. with the same cap sizes for input and output. they switch together. 10n is actually spec for a EH screaming bird treble booster. the "load" is just a 25k in series with the output, its main purpose is to fight the impedance problem of sticking anything thats not a guitar before a fuzz. this was going to be part of a double pedal with 3 footswitches but I decided to split them up so you can try them with other stuff. I did however retain the master bypass switch that controls two pedals. your fuzz must be connected to the send return jacks. when nothing is plugged in to the loop, it works like a normal pedal.