Page 239 of 409
Re: Let's see your finished DIY projects!
Posted: Mon Jun 03, 2013 10:22 pm
by theavondon
First build! Got bored, decided to buy the parts I didn't have to build a LPB-1. I found the tagboard and transistor at work, and then picked up some more components and the switch, and had the enclosure around my house. The store I drove to (Again, impulse build) didn't have stomp switches. I might get one later down the road, but at this point, I'm stoked it fired up the first time. And, it only took me the length of three Modest Mouse albums to build.


Re: Let's see your finished DIY projects!
Posted: Mon Jun 03, 2013 10:39 pm
by culturejam
nice, work mang!
Re: Let's see your finished DIY projects!
Posted: Mon Jun 03, 2013 10:41 pm
by theavondon
culturejam wrote:nice, work mang!

I have a feeling an addiction is coming on.
Re: Let's see your finished DIY projects!
Posted: Mon Jun 03, 2013 10:41 pm
by skullservant
NICE! Love the tagboard
Re: Let's see your finished DIY projects!
Posted: Mon Jun 03, 2013 11:14 pm
by the Life Aquatic
LPB-1 was my first build too! I was discouraged and didn't build much after that because I thought i fucked up the build since when the knob was at zero it killed the signal lol got an real LPB-1 later on and just laughed when I saw that did it too.
Re: Let's see your finished DIY projects!
Posted: Tue Jun 04, 2013 12:30 am
by zRobertez
theavondon wrote:And, it only took me the length of three Modest Mouse albums to build.
Of approximately 15+ songs on each

exactly how my first build was
Re: Let's see your finished DIY projects!
Posted: Tue Jun 04, 2013 4:01 pm
by LaoWiz
theavondon wrote:culturejam wrote:nice, work mang!
I have a feeling an addiction is coming on.
Yes, you are fucked
Re: Let's see your finished DIY projects!
Posted: Wed Jun 05, 2013 8:35 am
by culturejam
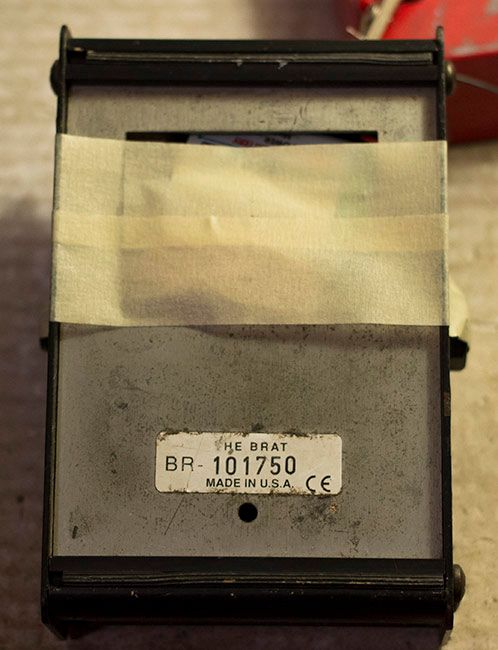
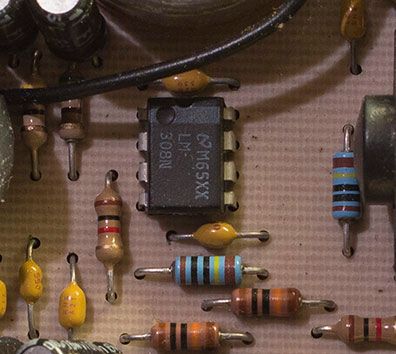
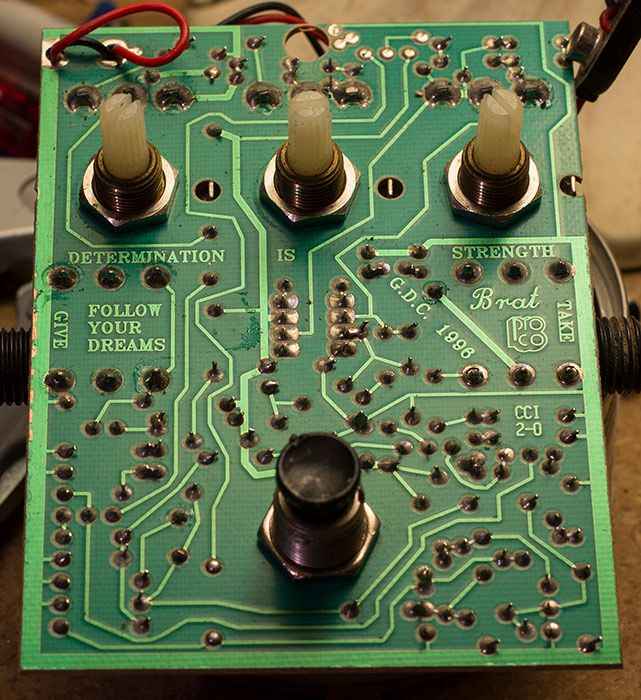
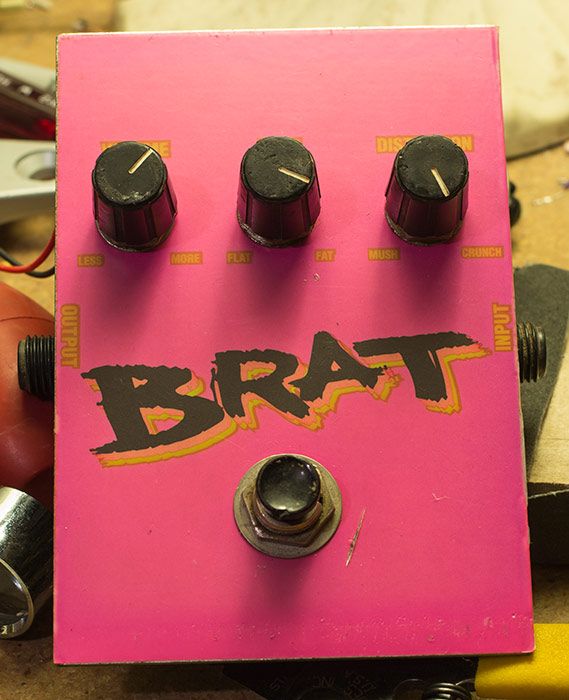
I likes to trawl ebay for cheap busted pedals on the cheap and fix 'em up. 8) Saw one the other day I could not pass up: a ProCo Brat in hot pink for $28 shipped. Seller said the input jack was intermittent, so I figured it would be an easy fix. And it was.
The input jack's solder pins had broken free of the joint and pads. I'm sure it was because a previous owner lost the input jack nut, and the strain from inserting and removing cables eventually caused the stress fracture in the joints. Reflowed the joints and she was good to go.
But I also cleaned it up a bit. It was pretty gross and neglected, so I cleaned off the dirt and gave it a decent once-over spit shine. Looks pretty nice now, if you like Aqua Net pink.
I will be adding a 9v jack to this one. Other than that, I'll most likely leave it stock. The overall tone is not exactly mind-blowing. After tracking down a
schematic (drawn by SoulSonic), I see how it differs from the Rat: it has feedback loop clipping diodes as well as the typical clippers to ground. And that sort of makes it the granddaddy of the BJFE Honey Bee.
I was not impressed with the Honey Bee, so it's no shock I don't like a really similar setup in the Brat. Still, I have a couple Rats kicking around, so there's not need for me to mod this one to make it more Rat-like. Viva la difference!
Some pics:
Brat as received from seller:
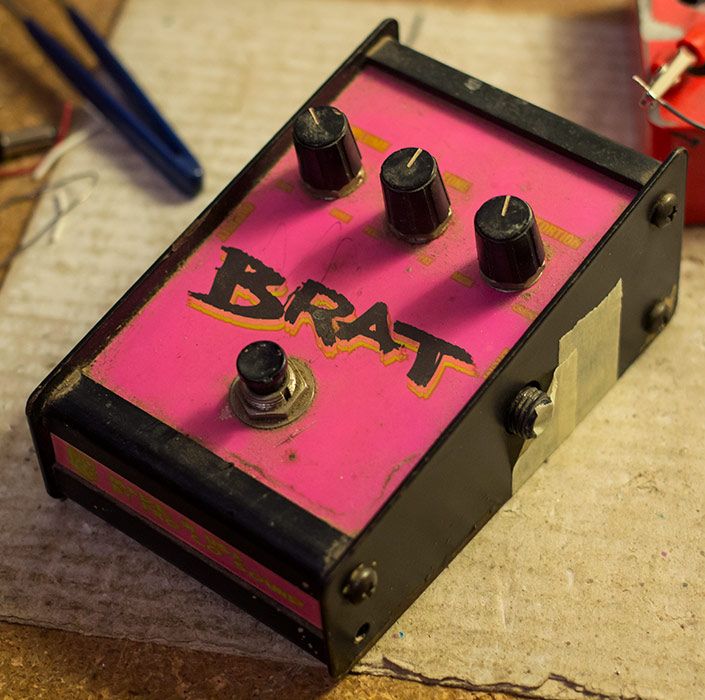
Tape FTW!
Nice inside packing job:

The enclosure is really cool. Every plane is its own part (back, front, top, bottom, sides).

Dirty!

Board shot:

LM308 goodness:
Back side:
Detail of bad joints (bottom three):
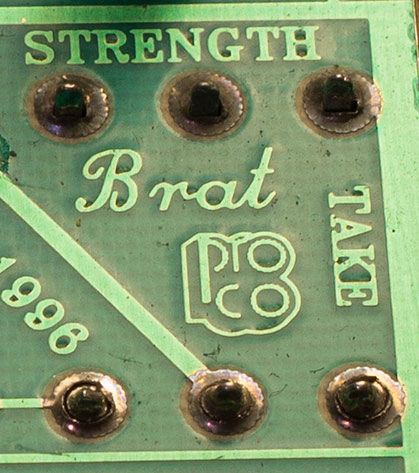
All clean!
I will post some final pics once I have the 9V jack installed.
Re: Let's see your finished DIY projects!
Posted: Wed Jun 05, 2013 9:36 am
by skullservant
Awesome!
Re: Let's see your finished DIY projects!
Posted: Thu Jun 06, 2013 3:42 am
by theavondon
Dude, score.
Re: Let's see your finished DIY projects!
Posted: Fri Jun 07, 2013 3:26 pm
by soldersqueeze
culturejam wrote:
Back side:
I love any pedal with weird shit written on the PCB. I think my RRR has some little message on it, and it makes me feel special

Re: Let's see your finished DIY projects!
Posted: Sat Jun 08, 2013 4:37 pm
by zRobertez
My first mod!
I changed the depth switch to a knobby and now the switch kills the dry signal so I can vibrato out all night.

There is one problem though. I need to add true bypass at some point because with the vibrato switch on, it kills the dry signal even in bypass.
Oh well. I dig it!
The guys aren't really worth looking at. It's just moving wires around mostly.
Re: Let's see your finished DIY projects!
Posted: Tue Jun 11, 2013 2:01 pm
by ran_dizolph
Just wrapped up my first attempt at etching. Super HardOn clone.
Took a couple of stabs at getting the transfer on, but still far from perfect. Might need to go a bit easier on the acid ratio next time around. Also used the sponge method for applying it, and may have put too much pressure on it, so I think I'll just do it upside down in the pan next time, and gently agitate it.
Was hoping to paint the inset, but there was just too much pitting around some of the detail to do it. Next time!

Re: Let's see your finished DIY projects!
Posted: Tue Jun 11, 2013 2:05 pm
by skullservant
Looks good man!
I built this up for myself last night to take a break from stuff on the bench and mounting hardware.
It's a Madbean Cavedweller with a few tweaks. Found the PERFECT capacitor value for the repeat color that also keeps your dry signal when the repeats are on 100% faithful to when bypassed instead of coloring it. Also added a photoresistor with a pot to control the intensity of the warbles that you can create, as it is hooked up to the delay time knob.

Re: Let's see your finished DIY projects!
Posted: Tue Jun 11, 2013 7:24 pm
by Jero
ran_dizolph wrote:Just wrapped up my first attempt at etching. Super HardOn clone.
Took a couple of stabs at getting the transfer on, but still far from perfect. Might need to go a bit easier on the acid ratio next time around. Also used the sponge method for applying it, and may have put too much pressure on it, so I think I'll just do it upside down in the pan next time, and gently agitate it.
Was hoping to paint the inset, but there was just too much pitting around some of the detail to do it. Next time!

Might be my favorite pedal pun yet.