Page 164 of 409
Re: Let's see your finished DIY projects!
Posted: Tue Apr 03, 2012 7:11 pm
by fuzzmax
yeah i never got great PCB with PNP. There is always some spots that does not transfer right. I buy manufactured PCB instead now. So much less trouble
Re: Let's see your finished DIY projects!
Posted: Tue Apr 03, 2012 7:46 pm
by excane
behndy wrote:speaking of etching....
You just love showing that thing off
")
You can show it again, cause that shit is PIMP.
PIMP I say
Re: Let's see your finished DIY projects!
Posted: Tue Apr 03, 2012 8:33 pm
by culturejam
This is a Fuzz Face-like circuit with most of the components being SMD (and the pot is board mounted). I kept the transistors and elctro caps through-hole. Not sure why I did it that way. Maybe I'll update with all SMD next time.
")
But I will say that I really like the SMD trimmer I used on this one. It's pretty sweet.

SMD is cool for layouts because you can put parts on both sides of the board, and you don't have to worry about through holes getting in the way. It's a different approach, for sure though, and it took a while to get my head around it.
To make things more complicated, I also decided to try out a new enclosure: the Hammond 1550P. It's an odd size. It's about twice as wide as a 1590A, but it's also shallower. That makes fitting hardware much trickier. I don't recommend this enclosure for anything with board-mounted pots. It would probably work great for true PTP fuzz circuits, however. I ended up having to machine the lid a bit to get it to sit flush with the jacks. The electros had to be laid flat as well. Oh, and the "inside" nut had to be removed from the stomp switch to keep the lugs from hitting the lid.
Anyway, here she is. I used a bottle cap for size reference.
Top of board, with diode, trimmer, trannies, and electros:
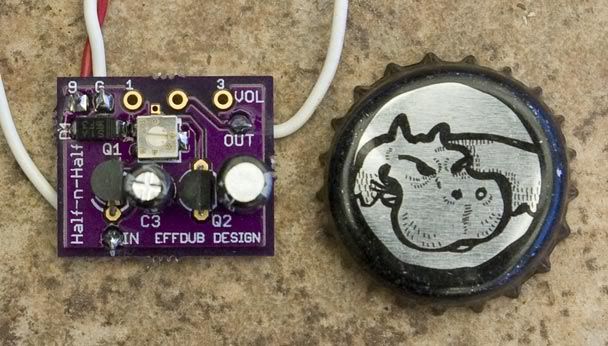
Bottom of board, with all the other passives (I should probably clean up all that nasty flux):

Outside enclosure:
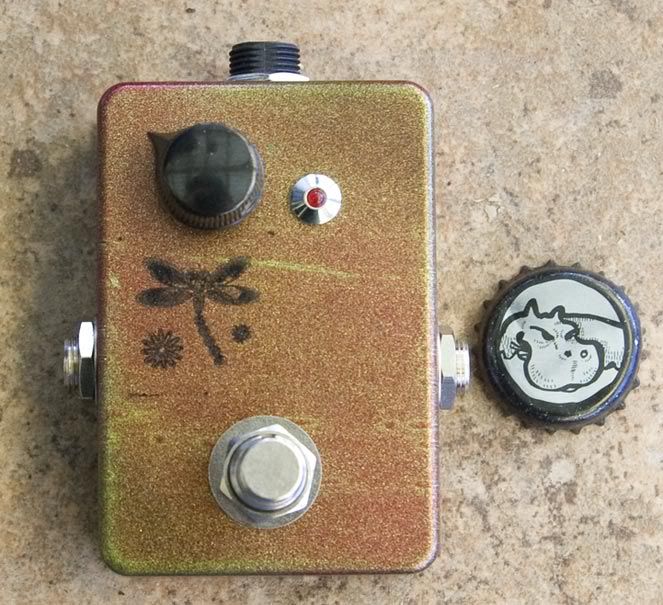
Upskirt: (you can see that my poor choice of LED placement caused a lot of havoc in routing)

Re: Let's see your finished DIY projects!
Posted: Tue Apr 03, 2012 8:47 pm
by theavondon
culturejam wrote:Outside enclosure:
Always innovating, eh? Looks super cool!
Re: Let's see your finished DIY projects!
Posted: Tue Apr 03, 2012 9:06 pm
by culturejam
I like to keep things interesting.
Re: Let's see your finished DIY projects!
Posted: Tue Apr 03, 2012 10:33 pm
by ARC Effects
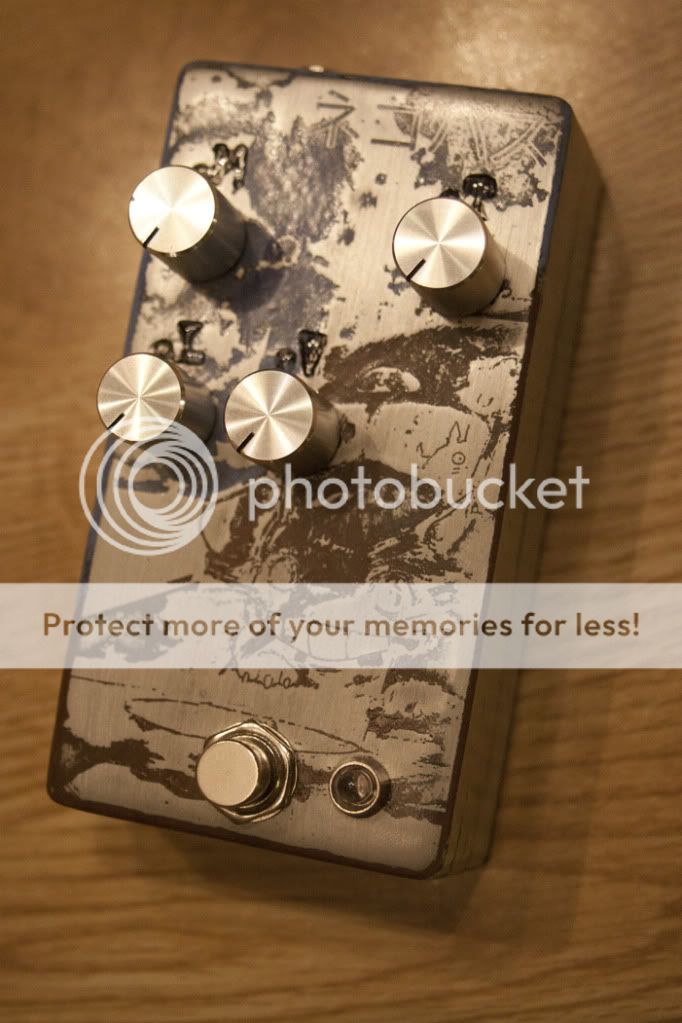
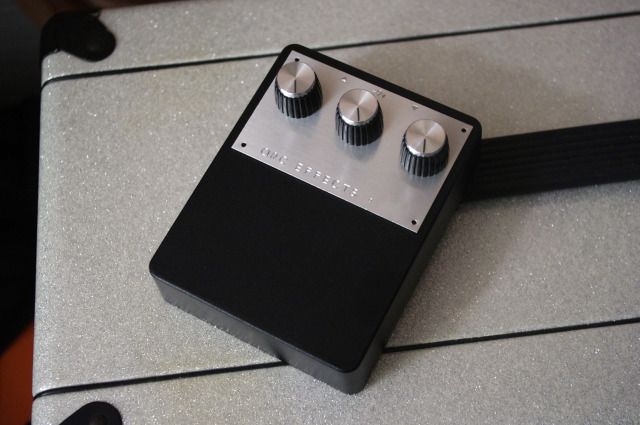
Teaser pic of an upcoming pedal of mine
Re: Let's see your finished DIY projects!
Posted: Tue Apr 03, 2012 10:33 pm
by skullservant
thats pretty hot
Re: Let's see your finished DIY projects!
Posted: Wed Apr 04, 2012 5:16 am
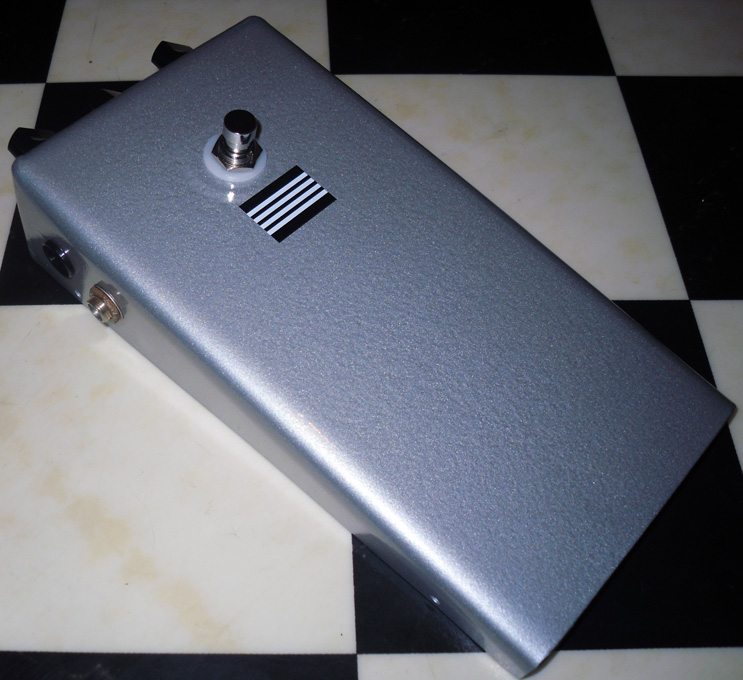
by briggs
Re: Let's see your finished DIY projects!
Posted: Wed Apr 04, 2012 5:34 am
by culturejam
Roomy!
Re: Let's see your finished DIY projects!
Posted: Wed Apr 04, 2012 5:54 am
by briggs
culturejam wrote:Roomy!
Very, you could easily swing a fuzz cat about in there....

Re: Let's see your finished DIY projects!
Posted: Wed Apr 04, 2012 7:30 am
by moose23
How do you know when it's on?
Re: Let's see your finished DIY projects!
Posted: Wed Apr 04, 2012 10:49 am
by Teej212
i would have to assume when your guitar sounds fuzzy.
Re: Let's see your finished DIY projects!
Posted: Wed Apr 04, 2012 11:17 am
by Fuzz_Pi
StupidDream88 wrote:Teaser pic of an upcoming pedal of mine
Damm dude that new engraved plate looks fuckin fantastic
Re: Let's see your finished DIY projects!
Posted: Wed Apr 04, 2012 11:39 am
by moose23
Teej212 wrote:i would have to assume when your guitar sounds fuzzy.
But it's just a boost. (Briggs will know what I'm talking about...)
Re: Let's see your finished DIY projects!
Posted: Wed Apr 04, 2012 12:35 pm
by ARC Effects
Fuzz_Pi wrote:StupidDream88 wrote:Teaser pic of an upcoming pedal of mine
Damm dude that new engraved plate looks fuckin fantastic
Thanks

That's just a mockup because as you can see in the pix the drill holes in the corner were 1/8" off on the right hand side so I'm waiting for new ones before I can begin building.
*")